Authentication within any web application is an important aspect and cannot be taken lightly. There are many aspects that need to be considered such as security, maintainability, usability. Ruby on Rails provides various authentication frameworks in the form of gems like Cancan, Auth-logic, Devise, etc. In a Ruby on Rails application, we can provide authentication without any of these authentication frameworks, but that’s not recommended unless there are some serious requirements on how you handle security and encryption. Some of these frameworks have been used by many and are proven to be robust.
Devise is an authentication framework most popular among rails developers. Devise is one of the most dynamic authentication frameworks out there, its less time consuming and can be set up within minutes. Once setup you can easily modify the UI aspects provided by default and changing it to use Bootstrap.
What does it take to set up devise?
- Add devise gem in your app Gemfile gem ‘devise’ ’ and run ‘bundle install’ in your terminal
- Install devise by running ‘rails generate devise: install’
Some configuration settings that are needed:
- config/environments/development.rb:
Set the default url options
‘Config.action_mailer.default_url_options = { host: ‘localhost’, port: 3000 } ’
- config/routes.rb
Set your root url like ‘ root to: ‘home#index’.
- app/views/layouts/application.html.erb
Set flash messages
before <%= yield %> like this
<p class=”notice”><%= notice %></p>
<p class=”alert”><%= alert %></p>
This basically gives you success and failure messages.
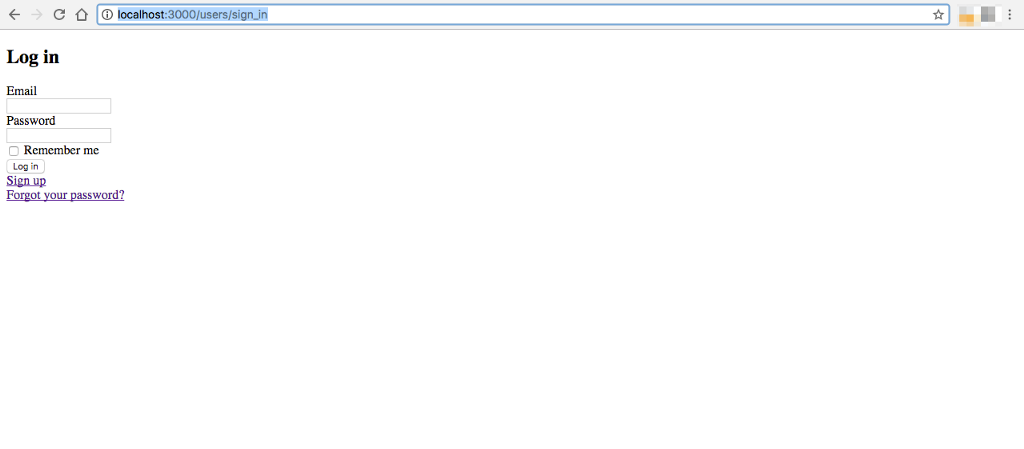
3. Add ‘rails g devise: views’ for further customization of your views.
4. Add model by running ‘rails g devise User’
5. Run ‘rake db: migrate’, this command migrates the user table to the database .
6. Add the logout link in ‘app/views/home/index.html.erb’.
7. Add ‘before_action :authenticate_user!’ in ‘app/controllers/application_controller.rb’. This means that the user should first sign-in before going into the app.
8. Restart the server and you are good to go.
Here are some of the steps to add bootstrap to your views.
- Add ‘ gem ‘twitter-bootstrap-rails’ ’ in your gem file and then run ‘bundle install’.
- Run ‘rails g bootstrap: install static’, this basically installs the static theme.
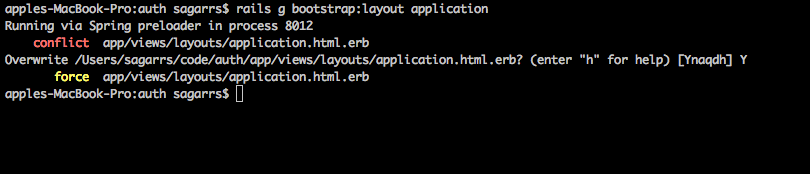
- Run ‘rails g bootstrap: layout application’ to add bootstrap to your application layout. In this step, it will ask whether to overwrite your application.html.erb file, type ‘Y’ and press enter. This modifies your application.html.erb.
4. Add ‘ gem ‘devise-bootstrap-views’ ’ in your gem file and run ‘bundle install’.
5. In file, app/assets/stylesheets/application.css add
‘*= require devise_bootstrap_views’ .
6. Run ‘rails g devise views: locale en’ this will generate config/locales/devise.views.en.yml.
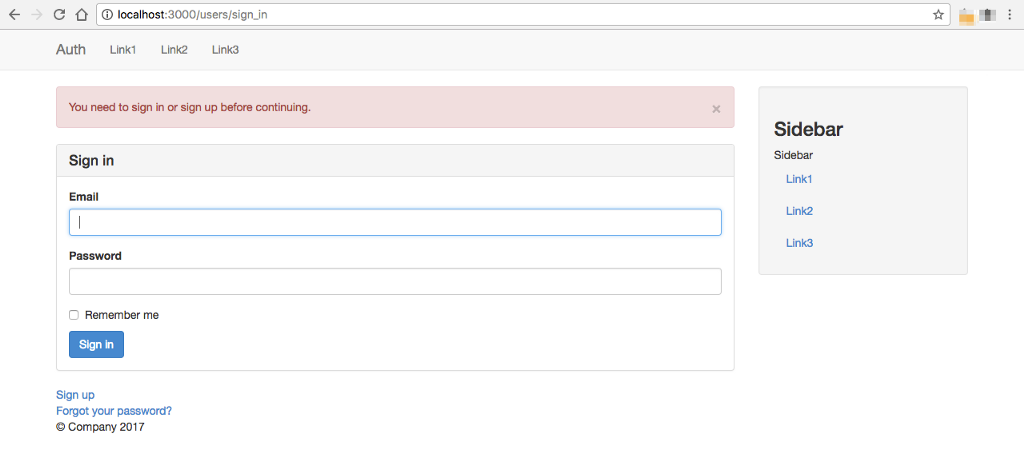
7. Run ‘rails g devise views:bootstrap_templates’ this generator will copy all views to your application and you can change the files based on your needs.
8. Restart server and you can see the bootstrap changes.
Note: Here in the above example we talked about using rails gem. However, we use bower to install all UI related components within our rails application. We will publish another topic on how to use bower within rails for all UI related dependencies.
Read our post “Behaviour Driven Development and Testing in Rails” to learn how to use Ruby on Rails testing frameworks such as RSpec, Capybara, Cucumber to enable test driven development (TDD).